
How to Seal Pest Entry Points: A Step-by-Step Guide
Table of Contents
- How to Seal Pest Entry Points: The 7-Step Method
- How to Find Rodent Entry Points
- How to Seal Mouse Holes Properly
- Best Materials to Seal Gaps Against Mice
- Pest Entry Point Inspection Checklist
- Common Mistakes That Undo Your Work
- When to Call a Professional
- Frequently Asked Questions
Last Updated: 18 October 2026
How to Seal Pest Entry Points: The 7-Step Method
Learning how to seal pest entry points is the single most effective way to stop mice and rats coming back. Most home infestations start at a gap no wider than a pencil. A mouse needs just 6mm to squeeze through, so the work is about finding every gap and closing it properly, not just blocking the obvious hole.
Below, we'll show you the exact 7-step method. It takes a weekend, not a fortnight, and it works the first time if you follow it in order.
Here is the sequence:
- Gather your tools and materials
- Find every entry point
- Clear and clean the area
- Fill gaps with the right material
- Seal holes properly
- Inspect your work
- Set up monitoring to confirm success
The mistake most people make is jumping straight to step four. Blocking one hole without finding the rest just pushes pests to another gap in the same wall.
What You'll Need Before You Start
Get your kit together first so you don't stop halfway through. A torch, a screwdriver, and a notepad are the basics. For sealing, you need wire wool, a proofing paste or filler, and gloves.
Our Rodent Proofing Kit at £39.99 contains proofing paste, repair cement, wire wool, and protective gloves. It covers the materials for both indoor and outdoor gaps.

You'll also want:
- A bright torch for dark corners
- A mirror for checking behind pipes
- A dustpan and brush
- A ladder for roofline checks
How to Find Rodent Entry Points
Finding rodent entry points means checking every gap wider than 6mm along the outside of your home, then tracing the inside. Mice follow walls and pipes, so look where services enter the building.
Start outside and work clockwise. Check these spots:
- Where pipes and cables enter walls
- Air bricks and vents
- The base of external doors
- Gaps under the roofline and fascia boards
- Cracks in brickwork and mortar
- Drains and soil pipes
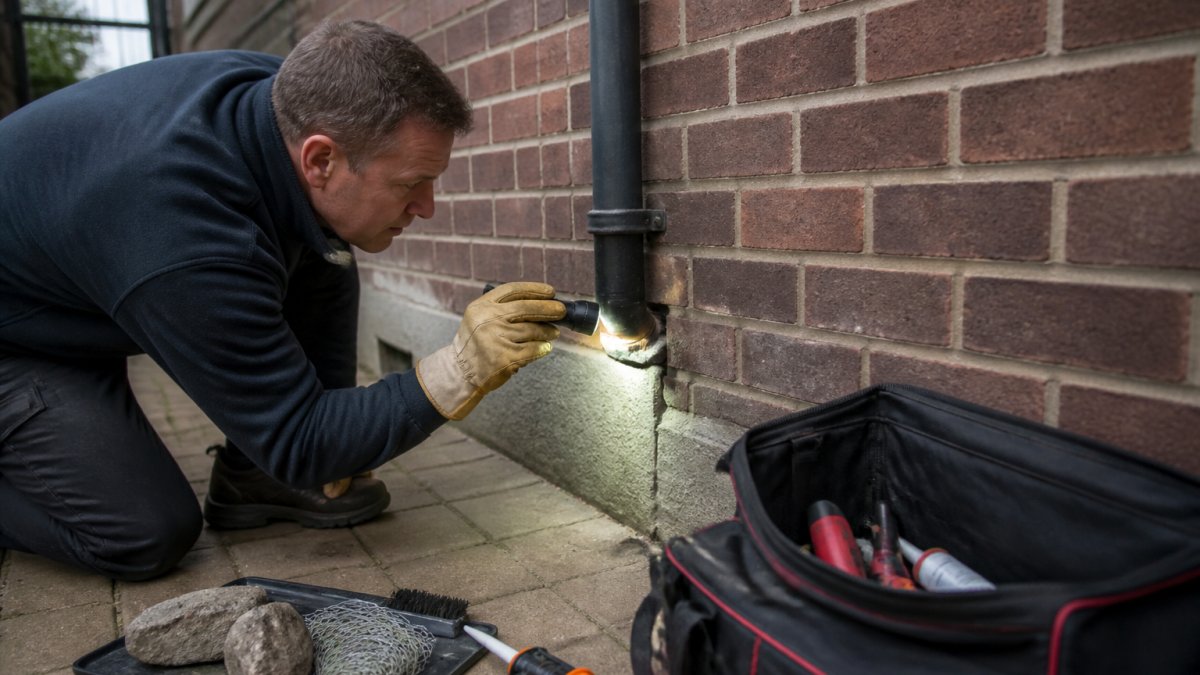
Inside, look for grease smears along skirting boards and droppings in cupboards. These show the routes pests use. Follow the route back to the wall and you'll usually find the gap.
The RSPH guidance on rodent control confirms that proofing entry points is the most reliable long-term fix. Poison and traps only work if you stop new pests getting in.
How to Seal Mouse Holes Properly
Sealing mouse holes properly means filling the full depth of the hole with a material mice can't chew through, then finishing it flush. Stuffing a bit of newspaper in the gap does nothing. Mice chew straight through it.
Here's the method we recommend:
- Clear loose debris from the hole with a screwdriver
- Push wire wool into the gap, packing it tight
- Cover the wire wool with proofing paste or cement
- Smooth the surface so it sits flush with the wall
- Check the seal has no gaps at the edges
Wire wool works because mice can't chew through metal strands. The paste holds it in place and blocks draughts. For larger holes, build up the cement in layers and let each one set.
Best Materials to Seal Gaps Against Mice
The best materials to seal gaps against mice are wire wool, proofing paste, cement, and metal mesh. Each has a place. The right choice depends on the gap size and whether it's indoors or out.
Rodent Proofing Kit - Indoor & Outdoor →
| Material | Best For | Gap Size | Notes |
|---|---|---|---|
| Wire wool | Pipe gaps, small holes | 6-20mm | Mice can't chew through it |
| Proofing paste | Filling around wire wool | Up to 20mm | Sets hard, paintable |
| Repair cement | Brickwork, mortar cracks | 10-50mm | Weatherproof for outside |
| Metal mesh | Vents, air bricks | Any size | Cut to fit, fix with clips |
| Expanding foam | Large voids | 50mm+ | Cover with mesh, mice chew foam |
Materials That Don't Work (And Why)
Some common fixes fail within weeks. Save your money and skip these:
- Newspaper and cloth: Mice chew through both in minutes.
- Expanding foam alone: Mice chew straight through it. Use it only as a base, then cover with mesh.
- Silicone sealant: Too soft. Rodents push through it.
- Wood filler: Cracks and falls out when mice work at it.
The pattern is simple. Soft materials fail. Hard or metal materials hold.
Pest Entry Point Inspection Checklist
Use this pest entry point inspection checklist each season. It takes about 20 minutes and catches new gaps before pests find them.
- Check all pipe and cable entry points outside
- Inspect air bricks for broken covers
- Look for gaps under external doors (fit a brush strip if needed)
- Check the roofline and fascia for holes
- Look for cracks in brickwork and render
- Check inside cupboards along external walls
- Look behind appliances for droppings or grease marks
- Confirm drain covers sit flush
Write the date on your checklist and keep it. Comparing seasons shows you where pests keep trying to get in.
Common Mistakes That Undo Your Work
The biggest mistake is sealing only the holes you can see. Pests use several entry points, and blocking one sends them to the next. Find them all before you start filling.
Other frequent errors:
- Sealing without confirming activity has stopped. You trap pests inside.
- Using soft materials. They fail within weeks.
- Ignoring the roofline. Mice climb and enter high up.
- Forgetting drains. Rats travel through them.
- Skipping the inspection after sealing. You won't know if it worked.
When to Call a Professional
Call a professional when you've sealed every gap and still see activity after two weeks. That points to a gap you missed or a nest inside a wall cavity. Both need proper investigation.
Signs it's time to bring in help:
- Droppings keep appearing after sealing
- You hear scratching in walls or ceilings at night
- You find grease marks on new routes
- The infestation keeps returning each season
A professional can use tracking methods to map activity you can't see. If you'd rather have a clear plan laid out for you, our Rodent Proofing Kit gives you the materials and the steps in one box.
For wider guidance on preventing infestations, the BPCA advice for homeowners is a solid starting point.
Frequently Asked Questions
How small a gap can a mouse get through?
A mouse can squeeze through a gap as narrow as 6 mm, which is roughly the width of a pencil. Young mice can manage even smaller openings. This is why sealing work has to be thorough: any gap you can push a pencil into needs filling. Check around pipes, cables, vents and the base of external doors, not just obvious holes. If you are unsure whether a gap is wide enough to matter, seal it anyway. It costs little and removes the doubt.
Can mice chew through expanding foam?
Yes. Standard expanding foam is soft once cured and mice will gnaw straight through it. It also offers no resistance to rats. If you use foam, it should only be as a backing layer, with wire wool packed into the gap first and a hard-setting filler or cement over the top. The combination of wire wool and a rigid seal is what stops rodents, because they cannot chew through steel wool and cannot push past a solid barrier.
Should I seal a hole if there are still pests inside?
No. Sealing entry points while rodents are still active inside traps them in the property, and the resulting smell and fly activity is far worse than the original problem. Deal with the infestation first, then proof the building. Set traps or use a tracking method to confirm activity has stopped, and only then start sealing. A kit such as the Rodent Proofing Kit at £39.99 is designed for exactly this final stage, once the interior is clear.
How do I seal gaps around pipes and cables?
Pack the gap with wire wool first, pushing it in firmly so it fills the void, then cover it with a hard-setting filler such as repair cement. For larger openings around waste pipes, a purpose-made pipe collar or a cement and wire wool combination works well. Check both inside and outside the wall, because a gap that looks sealed from one side may be open from the other. Confirm the surface is suitable before applying any filler, and wear gloves throughout.
Sealing entry points is the part of pest control most people skip, and it's the part that actually stops the problem coming back. If you want the job done in one weekend with the right materials, our Rodent Proofing Kit gives you the paste, cement, wire wool, and gloves in a single box. Get started with Military Precision Pest Control and close every gap for good.